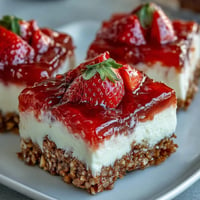
 Save to Pinterest
 Last summer, my hiking buddy texted at 6 AM asking if I could pack snacks for a trail we'd been planning all year. I had nothing ready, and the store didn't open for another hour. That's when I remembered watching my neighbor press some no-bake bars into a pan the week before, and I realized I could make something chewy and substantial in minutes. Thirty minutes later, with oats and peanut butter still under my fingernails, I had twelve portable bars that would outlast any store-bought energy square. Those bars became our secret weapon on every hike that followed.
I brought these to a potluck once and watched them disappear before the main course even hit the table. Someone asked for the recipe right then, standing by the dessert table with crumbs on their shirt, and I realized these weren't just my hiking snack anymore—they were becoming something people actually looked forward to.
Ingredients
- Old-fashioned rolled oats (2 cups): The backbone of texture; they give you that hearty chew without any cooking required.
- Crisp rice cereal (1 cup): This adds a subtle crunch that keeps things interesting, and it binds everything together as it softens slightly from the honey.
- Mixed nuts, chopped (1/2 cup): Pick nuts you actually enjoy eating—almonds, walnuts, or pecans all work, though I've learned toasted ones give better flavor.
- Dried fruit (1/2 cup): Cranberries stay firmer than raisins, but whatever you choose brings natural sweetness that balances the richness of the peanut butter.
- Unsweetened shredded coconut (1/4 cup, optional): If you use it, toast it lightly first for deeper flavor and to keep it from turning soggy.
- Salt (1/4 teaspoon): A pinch brings everything into focus and makes the sweetness taste less one-dimensional.
- Honey or maple syrup (1/2 cup): This is your binder—warm it gently so it coats everything evenly, and it sets up perfectly in the fridge.
- Peanut butter or almond butter (1/3 cup): Room temperature peanut butter mixes easier than cold, and creamy works better here than chunky.
- Vanilla extract (1 teaspoon): A small amount that rounds out all the flavors without announcing itself.
- Mini chocolate chips (1/4 cup, optional): Add these after the mixture cools slightly or they'll melt into the bars, which honestly isn't terrible but changes the texture.
- Chia seeds or flaxseed meal (1 tablespoon, optional): These add nutrition and a subtle nuttiness if you're looking to boost protein.
Tired of Takeout? 🥡
Get 10 meals you can make faster than delivery arrives. Seriously.
One email. No spam. Unsubscribe anytime.
Instructions
- Prepare your pan:
- Line an 8-inch square baking pan with parchment paper and let the edges hang over the sides—this is how you'll lift the whole batch out later without losing crumbles everywhere. I learned this the hard way.
- Mix the dry base:
- Combine the oats, rice cereal, nuts, dried fruit, coconut, and salt in a large bowl, giving everything a good toss so nothing settles to the bottom. You're building the foundation here, so make sure the nuts and fruit are distributed evenly.
- Warm the binder:
- In a small saucepan over low heat, stir together the honey and peanut butter until they're completely smooth and combined, which takes about 2 to 3 minutes. Once it's melted and glossy, pull it off the heat and stir in the vanilla.
- Combine everything:
- Pour the warm honey mixture over your dry ingredients and mix thoroughly, making sure every bit of oat and nut gets coated in that sticky sweetness. This is the moment where it goes from separate ingredients to something that actually feels like a bar.
- Add chocolate carefully:
- If you're using chocolate chips, wait 2 to 3 minutes for the mixture to cool slightly before stirring them in so they hold their shape instead of melting into brown streaks. This is optional but worth the patience.
- Press and set:
- Transfer everything to your prepared pan and press it down firmly and evenly with a spatula or the back of a measuring cup, making sure there are no soft spots or gaps. You want this compact enough to hold together when you bite into it later.
- Top it off:
- If you want, sprinkle a few extra chocolate chips or nuts on top and press them in gently so they don't fall off when you cut the bars. This makes them look intentional.
- Chill until set:
- Pop the pan into the refrigerator for at least 1 hour—this is when the honey sets and everything becomes properly firm. I usually go for 2 hours to be safe.
- Cut and store:
- Use the parchment overhang to lift the whole block out, then slice it into 12 bars with a sharp knife, wiping the blade between cuts so you get clean edges. Store them in an airtight container in the fridge for up to a week, though they usually don't last that long.
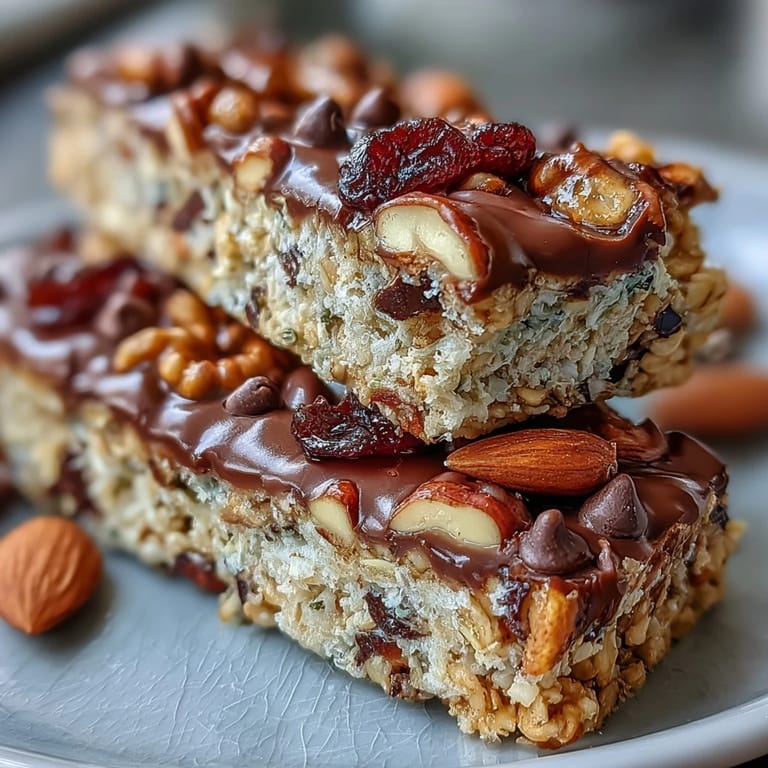
 Save to Pinterest
 There's something deeply satisfying about pressing those bars into the pan, knowing that in an hour you'll have something wholesome and delicious that actually tastes better than anything you'd grab at a gas station. It's the kind of snack that makes you feel smart for making it yourself.
Why These Bars Beat Store-Bought Versions
Store-bought energy bars often have ingredient lists longer than a grocery receipt, with preservatives and mystery oils that make you wonder what you're actually eating. When you make them at home, you control every single thing that goes in, and you can taste the difference immediately—the honey is actual honey, the nuts are actual nuts, and the whole thing tastes fresher because, well, it is. Plus, they cost less than half the price, and you get the quiet satisfaction of knowing exactly what fueled your day.
How to Make Them Your Own
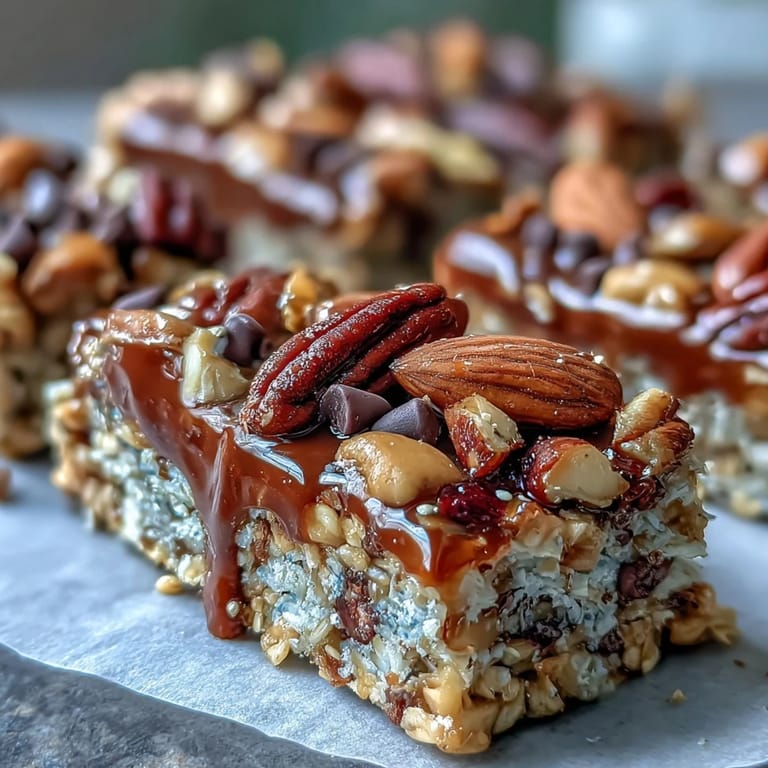
The beauty of this recipe is that it's endlessly adaptable to whatever you have on hand or whatever you're in the mood for. If you don't like one of the dried fruits, swap it out for something you prefer—dates, figs, or chopped mango all work beautifully. I once made a batch with cinnamon and cardamom when I was in a chai mood, and another time I added a tablespoon of cocoa powder to make them almost fudgy.
Storage and Make-Ahead Magic
These bars thrive in the refrigerator and actually taste better after a day or two once all the flavors have settled together. They'll keep for a week easily, and if you want to get ahead, you can make a double batch and wrap individual bars in foil to freeze for up to three weeks.
- Wrap each bar individually in parchment or foil before storing so they don't stick together in the container.
- Take them out of the fridge about ten minutes before eating if they get too hard—they soften up just enough to be perfectly chewy.
- If they start to dry out, store them with a small piece of bread in the container, which sounds weird but actually works and keeps them moist.
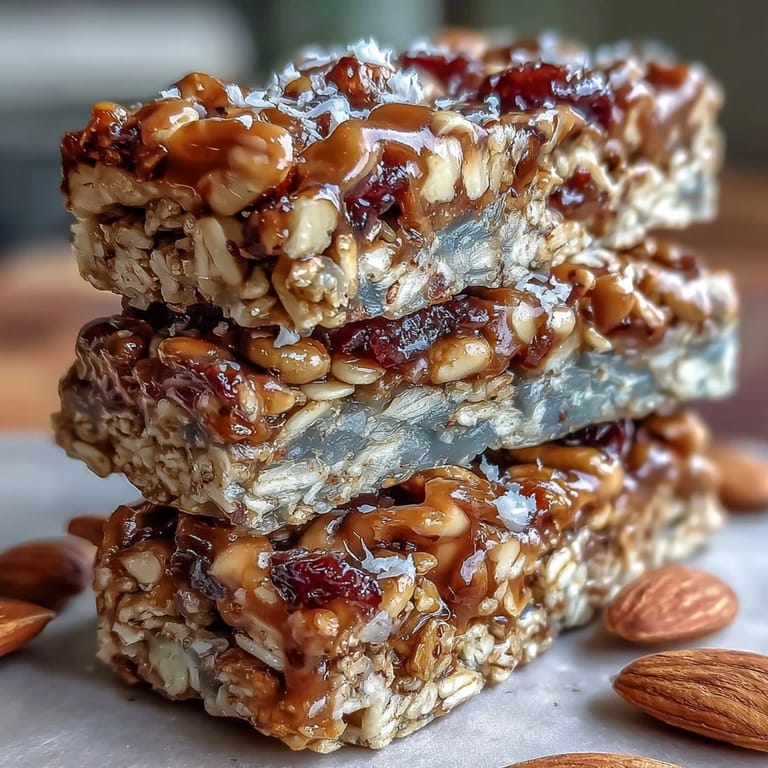
 Save to Pinterest
 These no-bake bars have become my answer to every picnic, hiking trip, and last-minute snack emergency. Make a batch and you'll understand why.
Recipe FAQs
- → How can I make these bars nut-free?
Swap peanut or almond butter with sunflower seed butter and omit mixed nuts to keep the bars nut-free.
- → Can I substitute the sweetener?
Yes, use either honey or maple syrup according to preference for natural sweetness and binding.
- → What are some good add-ins for extra flavor?
Consider adding cinnamon, cardamom, mini chocolate chips, chia seeds, or flaxseed meal for added taste and texture.
- → How do I store these bars?
Store bars in an airtight container in the refrigerator for up to one week to maintain freshness and firmness.
- → Are these bars suitable for quick snacks?
Yes, they are quick to prepare and convenient for on-the-go energy during hikes, picnics, or daily activities.