 Save to Pinterest
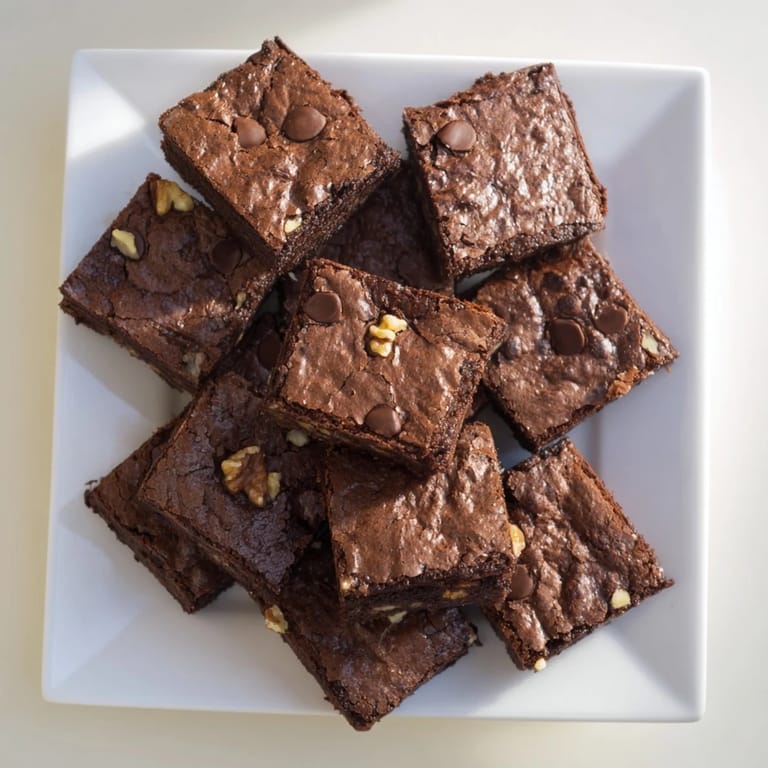
 The smell of chocolate melting in a saucepan still takes me back to my first apartment, where I learned that brownies could save a bad day. I'd come home exhausted, melt whatever chocolate I had, and somehow everything felt manageable again. These brownies became my go-to for celebrating tiny victories and comforting friends through heartbreaks.
Last winter, my neighbor texted at midnight asking if I had anything chocolate. I brought over a fresh pan of these still warm from the oven. We sat on her kitchen floor eating squares with our fingers, talking about everything and nothing until the pan was empty.
Ingredients
- Semi-sweet chocolate: Choose good quality baking chocolate chopped into even pieces for consistent melting
- Unsalted butter: Room temperature butter helps create that signature shiny crackly top as it cools
- Granulated sugar and brown sugar: The combination gives you the perfect balance of sweetness and subtle caramel depth
- Large eggs: Room temperature eggs incorporate better and create that fudgy texture we all love
- Vanilla extract: Pure vanilla enhances the chocolate without competing with it
- All-purpose flour: Just enough to hold everything together while keeping the texture dense and rich
- Unsweetened cocoa powder: Dutch process cocoa gives the deepest chocolate flavor
- Salt: A pinch balances the sweetness and makes the chocolate taste more intense
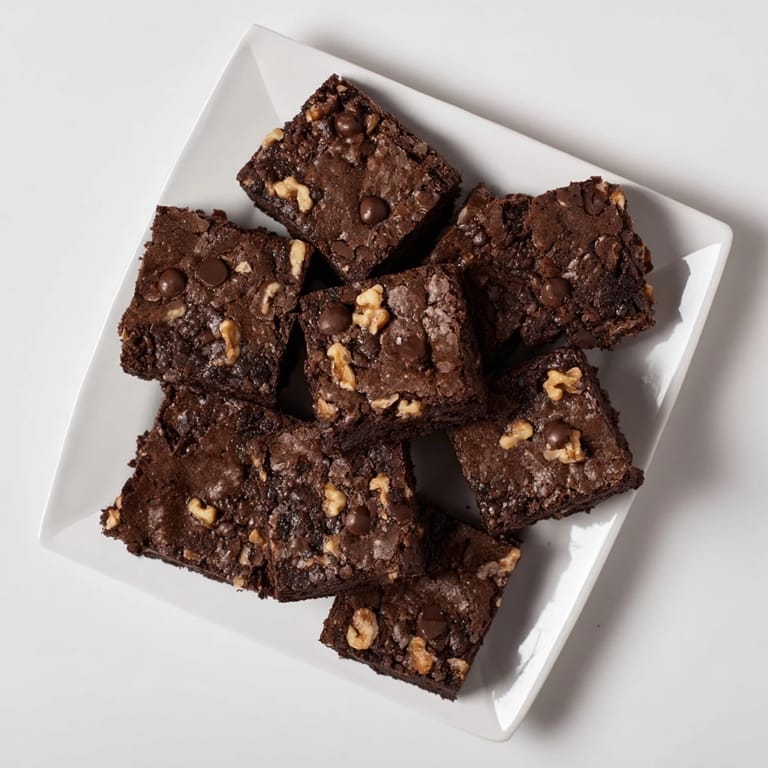
- Optional nuts or chocolate chips: Walnuts add crunch while extra chocolate chips create melty pockets throughout
Tired of Takeout? 🥡
Get 10 meals you can make faster than delivery arrives. Seriously.
One email. No spam. Unsubscribe anytime.
Instructions
- Prepare your pan:
- Line your square baking pan with parchment paper, letting the edges hang over like little handles for easy lifting later.
- Melt the chocolate and butter:
- Gently heat them together over low heat, stirring constantly until glossy and smooth, then remove from heat.
- Whisk in the sugars:
- Stir until the mixture thickens slightly and feels warm to the touch, about 2 minutes.
- Add the eggs:
- Beat in one egg at a time until fully incorporated, then stir in the vanilla.
- Incorporate the dry ingredients:
- Sift flour, cocoa, and salt over the bowl and fold gently until you no longer see dry streaks.
- Add your mix-ins:
- Fold in nuts or chocolate chips if you are using them, distributing evenly throughout the batter.
- Bake to perfection:
- Pour batter into your prepared pan and bake until a toothpick comes out with moist crumbs, not clean.
 Save to Pinterest
 These brownies have traveled to potlucks, office parties, and quiet evenings on the couch. My daughter now asks for them on her birthday instead of cake, which feels like the ultimate compliment.
Getting That Crackly Top
The secret is in how you beat the eggs and sugars. When you whip them long enough after melting the chocolate, you create a meringue-like layer that rises and cracks during baking. It is the difference between homemade brownies and the ones from that fancy bakery downtown.
Pan Size Matters
An 8-inch square pan gives you thick, fudgy squares. If you use a 9-inch pan, your brownies will be thinner and cook faster. Both are delicious, but the baking time will change accordingly.
Storage and Serving Suggestions
These actually improve after a day in an airtight container as the flavors deepen and the texture becomes even more fudgy. You can also freeze individual squares wrapped tightly for up to three months.
- Warm a square for 15 seconds in the microwave before serving
- Sprinkle flaky sea salt on top while they are still warm
- Serve with cold milk or hot coffee depending on the weather
 Save to Pinterest
 Life is too short for dry, cakey brownies when you could have these instead. Grab a square and maybe share one with someone who needs it.
Recipe FAQs
- → How do I know when brownies are done?
Insert a toothpick into the center—it should come out with a few moist crumbs, not completely clean. The edges should be set but the center slightly soft. This ensures fudgy texture rather than cakey results.
- → Why didn't my brownies get a crackly top?
The crackly top forms from sugar crystals rising to the surface during baking. Make sure you're using both granulated and brown sugar, and that your butter and chocolate are properly melted and incorporated. Room temperature eggs also help.
- → Can I make these brownies gluten-free?
Yes, substitute the all-purpose flour with a 1:1 gluten-free flour blend. Ensure your cocoa powder and other ingredients are certified gluten-free. The texture may be slightly different but still delicious.
- → How should I store brownies to keep them fresh?
Store in an airtight container at room temperature for up to 3 days. For longer storage, refrigerate for up to a week or freeze individually wrapped squares for up to 3 months. Bring to room temperature before serving.
- → What's the difference between fudgy and cakey brownies?
Fudgy brownies have higher fat-to-flour ratio, using more butter and chocolate with less flour. They're dense, moist, and almost truffle-like. Cakey brownies have more flour and sometimes leavening, creating a lighter, fluffier texture similar to cake.
- → Can I use chocolate chips instead of chopped chocolate?
Yes, but chopped baking chocolate melts more smoothly and creates a richer flavor. If using chips, choose high-quality semi-sweet chips and melt slowly with the butter to ensure proper incorporation.