 Save to Pinterest
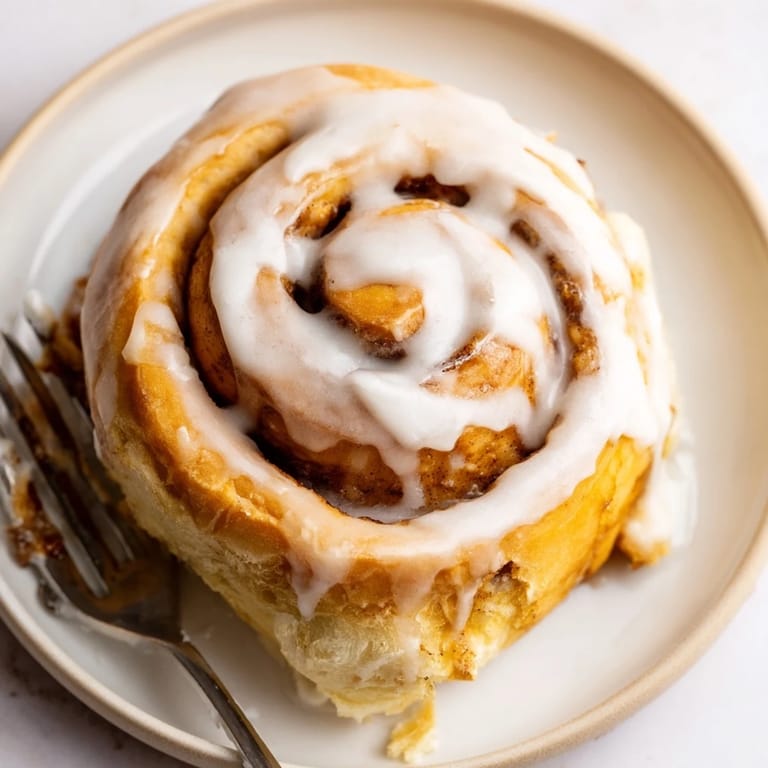
 The winter morning I decided homemade cinnamon rolls were a completely reasonable Tuesday ambition, my kitchen turned into something resembling a flour bomb testing site. I had this romantic notion about warm yeasty aromas filling the apartment, maybe snow falling outside the window, definitely me emerging looking like some sort of domestic goddess. What actually happened involved me crawling around on the floor trying to find where my dough scraper had rolled off to, while the cat decided the bag of flour was her new bed. That first batch came out lopsided, a little dense in spots, and the glaze was more of a philosophical concept than an actual topping. But pulling that first warm roll apart, watching the steam curl up between the spirals, made all the flour in my hair and the yeast that refused to activate properly completely worth it.
Last Christmas morning, my sister walked into my kitchen at 6 AM because she remembered that year I promised homemade cinnamon rolls for breakfast. We ended up working side by side in our pajamas, her managing the rolling while I wrestled with the glaze consistency, and somewhere between the coffee refills and waiting for the second rise, we realized this wasnt really about the rolls anymore. My brother in law wandered in around 7, drawn by the smell, and just started setting the table without even asking. Now it is not Christmas morning unless someone is flour dusted and arguing about who gets the corner piece with the most caramelized sugar.
Ingredients
- All purpose flour: The backbone that gives structure to all those gorgeous spirals, and do not even think about using whole wheat unless you want disappointment in bread form
- Active dry yeast: Those tiny living organisms that will make your dough puff up like magic, and I learned the hard way that expired yeast just results in very sad flat discs
- Whole milk: Lukewarm like a comfortable bath, because cold milk shocks the yeast into hibernation and hot milk kills it completely
- Granulated sugar: Feeds the yeast and adds just enough sweetness to the dough without competing with the filling
- Unsalted butter melted: Creates tenderness in every bite, and salted butter here throws off the delicate balance of flavors
- Large egg room temperature: Adds richness and helps the dough hold together, and room temperature eggs incorporate much better than cold ones
- Salt: Enhances all the other flavors and keeps the dough from tasting like a sweet paper airplane
- Brown sugar packed: The molasses content creates that deep caramel flavor and gooey texture we are all here for
- Ground cinnamon: Use fresh cinnamon because the stuff that has been hiding in your cupboard for three years has lost its will to live
- Unsalted butter softened: Spreads like a dream over the dough and creates those buttery cinnamon rivers we all dream about
- Powdered sugar: The foundation of that perfect glaze that drips into every crevice and crack
- Milk: Adjust this to get your glaze exactly how you like it, thick enough to cling but loose enough to drizzle beautifully
- Pure vanilla extract: The finishing touch that makes everything taste professionally crafted
Tired of Takeout? 🥡
Get 10 meals you can make faster than delivery arrives. Seriously.
One email. No spam. Unsubscribe anytime.
Instructions
- Wake up the yeast:
- Combine the lukewarm milk and yeast in a small bowl, then walk away for 5 minutes until you see a layer of foam on top, which is your signal that these tiny organisms are awake and ready to work their magic.
- Build your dough foundation:
- Mix flour, sugar, and salt in a large bowl, then add the melted butter, egg, and that frothy yeast mixture, stirring until everything comes together into a shaggy dough that looks like it needs more attention than it actually does.
- Knead until your arms protest:
- Turn the dough out onto a floured surface and knead for 8 to 10 minutes until it feels smooth and elastic, like a baby cheek, then place it in a greased bowl and walk away for an hour while it does its impressive doubling routine.
- Roll it out:
- Punch down your puffy dough with authority, then roll it into a rectangle that is roughly 16 by 12 inches, trying to keep the thickness even so some rolls are not twice the size of others.
- Layer on the magic:
- Spread that softened butter across the entire surface like you are painting a masterpiece, then sprinkle the brown sugar and cinnamon mixture everywhere, going all the way to the edges unless you want plain spirals which nobody wants.
- Create the spirals:
- Starting from one of the long sides, roll the dough into a tight log, then use a serrated knife to slice it into 12 equal pieces, trying not to squish the spirals as you cut through them.
- Second rise patience:
- Arrange those beautiful spirals in a greased baking dish, cover them with a towel, and let them puff up again for 30 to 45 minutes until they look like they are touching elbows and cozying up.
- Bake into golden perfection:
- Preheat your oven to 350 degrees Fahrenheit and slide those rolls in for 22 to 25 minutes until they are golden brown and your kitchen smells like a bakery that only exists in dreams.
- The grand finale glaze:
- While the rolls are still slightly warm, whisk together the powdered sugar, milk, and vanilla until smooth, then drizzle it generously over every single roll and watch it disappear into all those lovely crevices.
 Save to Pinterest
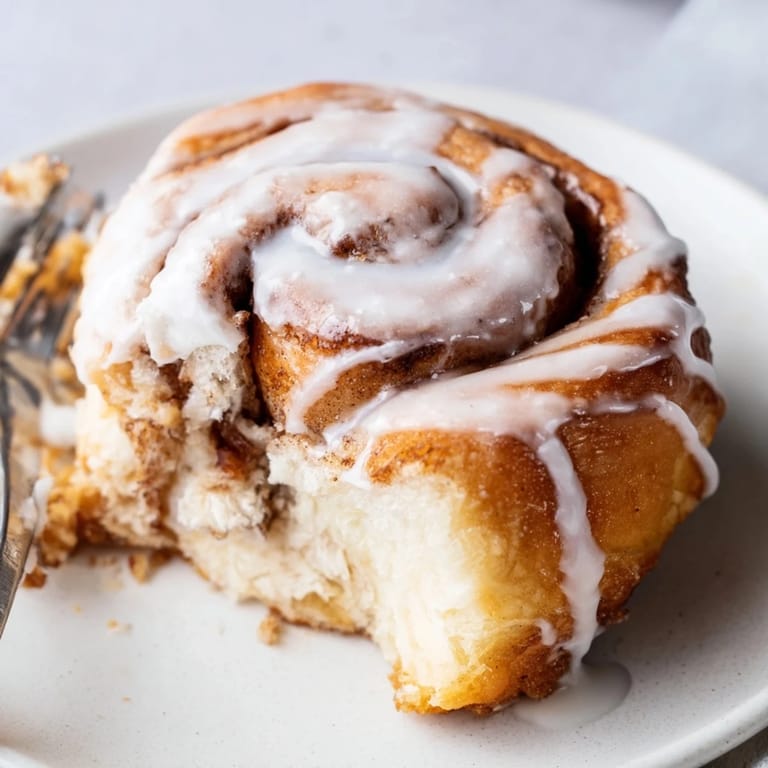
 There is something almost meditative about the process of making cinnamon rolls, the way the dough transforms under your hands from a shaggy mess into something smooth and cooperative. I have found that the mornings I make these are the mornings everything feels a little more possible, like the world has slowed down just enough to let sweetness in. The recipe has evolved over years of tiny adjustments, a little more butter here, an extra minute of kneading there, until it became exactly what it is today.
Getting The Rise Right
Temperature matters more than most recipes admit, and I have learned that my oven with just the light on creates the perfect proofing environment. The dough needs warmth but not heat, a gentle encouraging temperature that tells the yeast it is safe to do its work. I once tried to speed things up by putting the dough near our radiator and ended up with a weirdly tough crust forming before it even went in the oven.
The Rolling Technique
Keep your rolling pin and hands lightly floured throughout the rolling process, because this dough knows how to stick exactly when you are trying to achieve perfect dimensions. Rolling away from your body in even strokes helps maintain that rectangular shape, and do not stress if your edges are not perfectly straight. The cinnamon sugar filling hides a multitude of geometric sins, and honestly, rustic looking rolls taste exactly the same as the ones that look like they came from a professional bakery.
Timing Your Breakfast
The smartest thing I ever figured out was to start these the night before, stopping right after you slice them and arrange them in the baking dish. Cover them and refrigerate overnight, then let them come to room temperature and do their final rise while your oven preheats in the morning. Fresh cinnamon rolls for breakfast without having to function at full cognitive capacity before coffee is the kind of life hack that changes everything.
- Set out your butter and egg about an hour before you plan to start, because room temperature ingredients incorporate so much better into the dough
- If you are nervous about slicing through the spirals without squishing them, use unflavored dental floss to cut clean through the log
- These rolls freeze beautifully after the first rise, so consider doubling the recipe and freezing half for another weekend
 Save to Pinterest
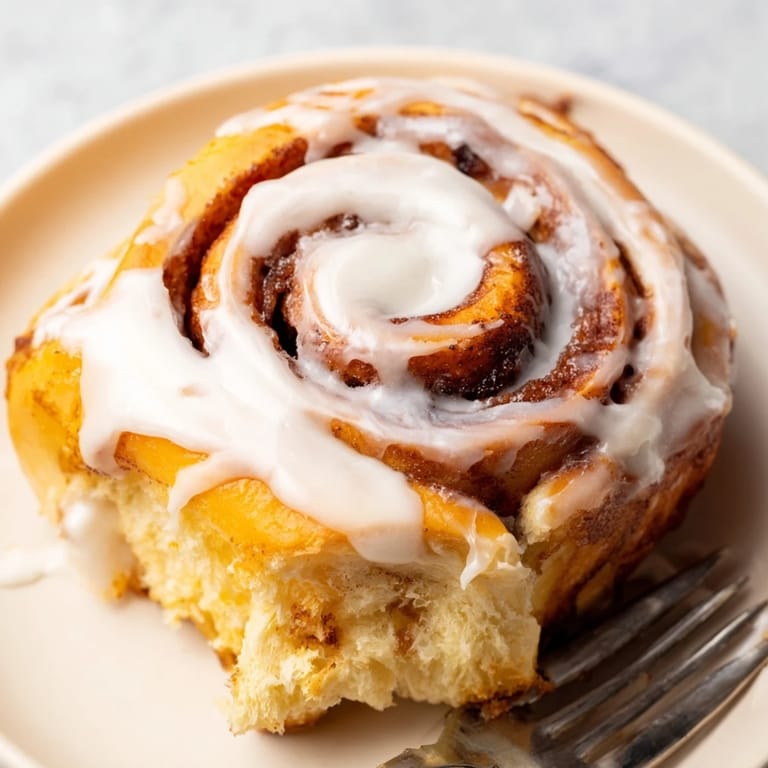
 There is nothing quite like watching someone pull apart their first warm roll, seeing their eyes close as that combination of soft dough and cinnamon hits them. These cinnamon rolls have become my way of saying I love you without ever having to speak the words out loud.
Recipe FAQs
- → How do I know when the dough has risen enough?
The dough is ready when it has doubled in size. You can test this by gently pressing two fingers into the dough - if the indentation remains, the dough has properly risen. This typically takes about 1 hour in a warm, draft-free spot.
- → Can I prepare these cinnamon rolls the night before?
Yes! After slicing the rolls and arranging them in the baking dish, cover tightly with plastic wrap and refrigerate overnight. In the morning, let them sit at room temperature for 30-45 minutes while the oven preheats, then bake as directed.
- → What's the best way to slice cinnamon rolls evenly?
Use unflavored dental floss or a sharp serrated knife. Slide the floss or knife under the dough log, cross the ends over the top, and pull through. This gives you clean, even slices without squishing the delicate spiral shape.
- → Why did my cinnamon rolls turn out dry?
Dry rolls usually result from overbaking or not letting the dough rise sufficiently. Ensure your yeast is fresh and frothy, don't exceed the recommended baking time, and remove them from the oven when they're golden brown on top but still soft to the touch.
- → Can I freeze these cinnamon rolls?
Absolutely! You can freeze baked, cooled rolls for up to 2 months. Wrap individually in plastic wrap, then place in a freezer bag. Thaw overnight in the refrigerator and reheat gently in the microwave. Alternatively, freeze unbaked rolls before the second rise, then thaw and bake fresh.
- → How do I get the perfect glaze consistency?
Start with 2 tablespoons of milk and whisk until smooth. The glaze should be thick but pourable - if it's too thick, add more milk 1 teaspoon at a time. If too thin, add more powdered sugar until you reach the desired consistency.