 Save to Pinterest
 The smell of cinnamon drifting through the house on a rainy afternoon still makes me think of my grandmother's tiny kitchen. I stood on a stool watching her transform a heap of apples into something magical. She never measured anything exactly, just trusted her hands. Now I understand why pie making feels more like instinct than science.
Last Thanksgiving, I made three pies in one day because my family literally threatened me. By the third one, I was covered in flour and laughing at my own ambitious chaos. That kitchen smelled like heaven, and nobody left without taking home a slice.
Ingredients
- All purpose flour: The structure builder for your crust, use unbleached for the best flavor and reliable results every time
- Cold unsalted butter: Keep it ice cold and work quickly to create those flaky layers that make people swoon
- Ice water: Add it gradually, you might need more or less depending on humidity and flour absorption
- Mixed apples: Granny Smith holds its shape while Honeycrisp brings natural sweetness, this balance is crucial
- Granulated and brown sugar: The brown sugar adds depth while white sugar provides crispness to the filling
- Ground cinnamon and nutmeg: Warm spices that make apple pie taste like home and comfort
- Lemon juice: Prevents apples from browning and brightens all those cozy spices
- Egg and milk: Create that beautiful golden finish that makes your pie look bakery worthy
Tired of Takeout? 🥡
Get 10 meals you can make faster than delivery arrives. Seriously.
One email. No spam. Unsubscribe anytime.
Instructions
- Make the Pie Crust:
- Whisk flour, salt, and sugar in a large bowl, then cut in cold butter until the mixture looks like coarse crumbs with some pea sized pieces remaining. Add ice water gradually, tossing with a fork just until the dough holds together when squeezed. Divide into two disks, wrap tightly, and let rest in the refrigerator for at least one hour.
- Prepare the Apple Filling:
- Peel, core, and slice your apples into even quarter inch pieces so they cook uniformly. Toss them with both sugars, spices, flour, and lemon juice until every piece is coated, then set aside while you roll out the dough.
- Assemble the Pie:
- Preheat your oven to 400°F with a rack positioned in the lower third. Roll out one dough disk on a floured surface and carefully transfer it to your pie dish, letting any excess hang over the edges. Fill with the apple mixture, mounding it slightly higher in the center since it will cook down, and dot with small pieces of butter.
- Create the Top Crust:
- Roll out the second disk and drape it over the filling. Trim the edges to an even overhang, then seal the layers together and crimp them with your fingers or a fork. Cut several slits in the top to let steam escape during baking.
- Add the Finishing Touch:
- Whisk the egg with milk and brush this wash all over the top crust for that gorgeous golden color. Sprinkle with coarse sugar if you want extra sparkle and crunch.
- Bake to Perfection:
- Place the pie on the lower oven rack and bake for 45 to 55 minutes until the crust is deeply golden and the filling bubbles thickly through the vents. Cover the edges with foil if they brown too quickly.
- Exercise Patience:
- Let the pie cool on a wire rack for at least two hours before slicing. This cooling time allows the filling to set properly so you get clean, beautiful slices instead of a runny mess.
 Save to Pinterest
 My daughter requested this pie for her birthday instead of cake, and I knew I had done something right as a parent. Watching her face light up when that first slice was served remains one of my favorite kitchen memories.
Making It Ahead
The dough can be made up to three days in advance and kept wrapped in the refrigerator. You can also freeze the dough disks for up to three months, just thaw them in the fridge overnight before rolling.
Getting Creative with the Crust
A lattice top looks impressive and lets more steam escape for a thicker filling. You can also use cookie cutters to create decorative cutouts from the top dough before placing it over the apples.
Serving Suggestions
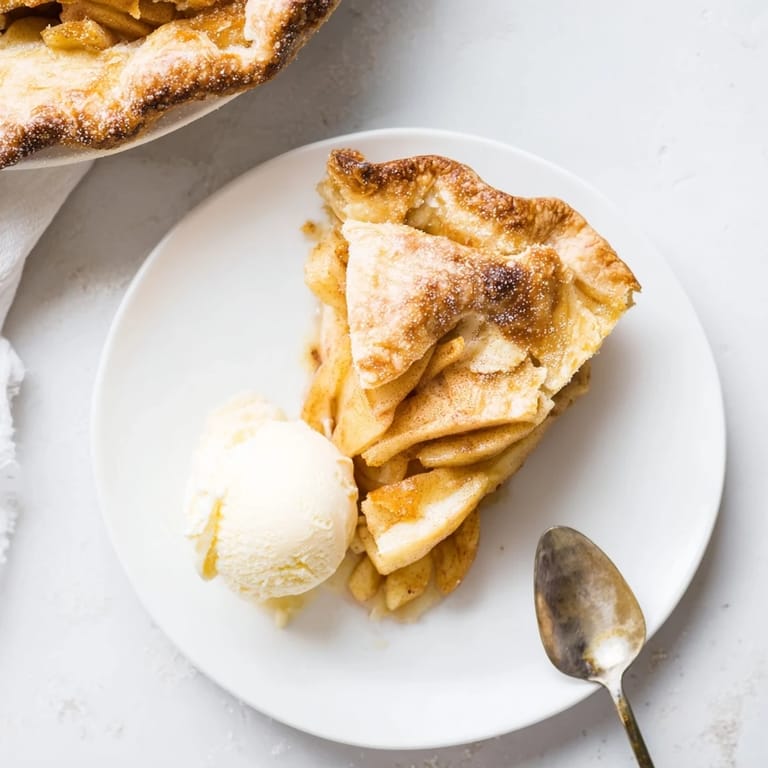
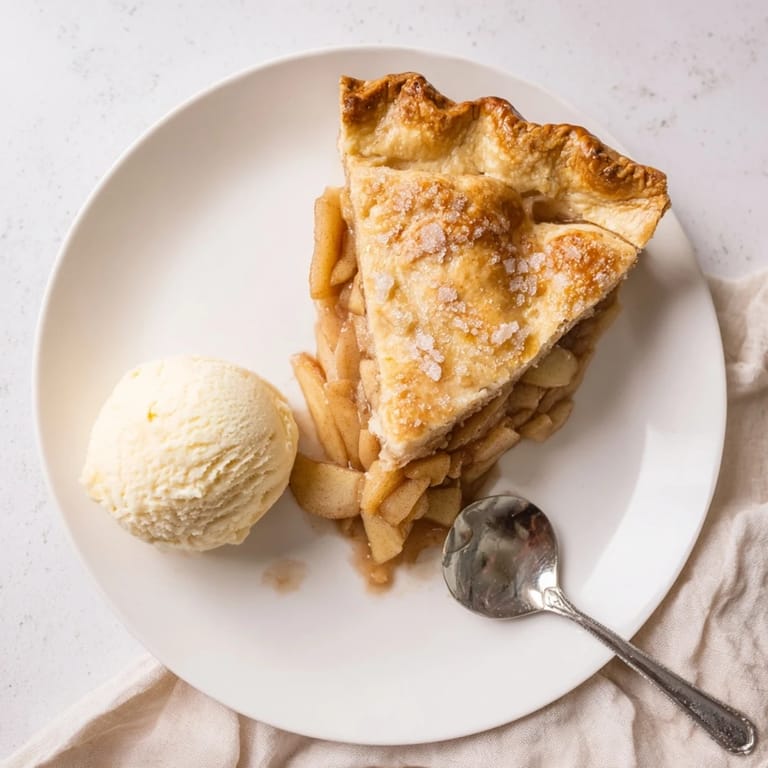
Warm slices pair perfectly with vanilla ice cream, but a dollop of crème fraîche adds a sophisticated tang that cuts through the sweetness. For a grown up twist, serve alongside a lightly sweet Riesling or after dinner coffee.
- Let the pie cool completely before wrapping leftovers
- Reheat individual slices in a 350°F oven for ten minutes
- Freshly baked pie keeps at room temperature for two days
 Save to Pinterest
 There is something deeply satisfying about serving a homemade apple pie to people you love. Every buttery, cinnamon scented bite feels like giving someone a hug.
Recipe FAQs
- → What apple varieties work best?
Granny Smith and Honeycrisp create the ideal balance. Granny Smiths provide tartness and hold their shape during baking, while Honeycrisps add natural sweetness. You can also use Braeburn, Jonagold, or Golden Delicious for varying flavor profiles.
- → Why must the dough be chilled?
Cold butter creates flaky layers by melting during baking and releasing steam. Chilling also prevents the dough from shrinking in the oven and makes it easier to roll out without sticking. Minimum one hour refrigeration ensures proper texture.
- → How do I prevent a soggy bottom crust?
Bake on the lower oven rack position, which directs more heat to the bottom crust. Also ensure the filling is bubbling vigorously before removing from the oven, indicating the apples have released their excess moisture and thickened properly.
- → Can I make this ahead of time?
The dough can be prepared and refrigerated up to 3 days in advance or frozen for up to 3 months. Fully baked apple pie keeps well at room temperature for 2 days, or refrigerated for up to 5 days. Reheat individual slices in a 350°F oven.
- → How do I know when it's done baking?
The crust should be deep golden brown, and you should see the filling bubbling vigorously through the steam vents. The apples will be tender when pierced with a knife through the vents. If the crust browns too quickly, shield the edges with foil.
- → What's the purpose of lemon juice in the filling?
Lemon juice prevents the apples from oxidizing and turning brown, while also brightening the overall flavor profile. It balances the sweetness from the sugars and enhances the natural apple taste without making the filling noticeably sour.