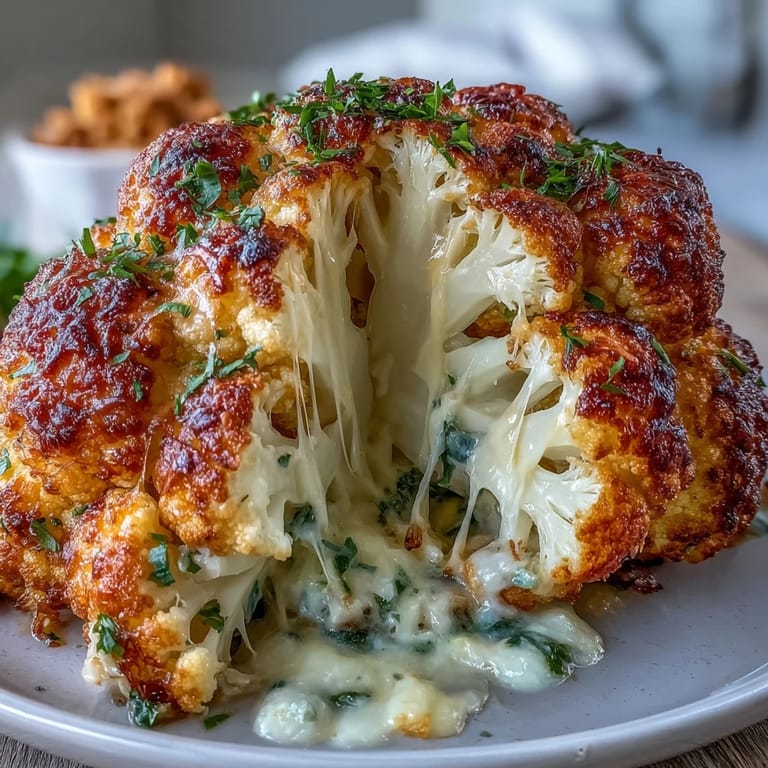
 Save to Pinterest
 My friend texted me a photo of a whole roasted cauliflower at some fancy restaurant, and I immediately thought, why haven't I made this at home? That evening, I stood in my kitchen holding a giant cauliflower head like it was a football, imagining how to hollow it out without destroying it. The first attempt was messy—I carved too aggressively and nearly split the whole thing in half—but that mistake taught me something valuable about patience and precision. Now, this creamy, cheese-stuffed showstopper has become my go-to move when I want to impress people without spending hours in the kitchen.
I made this for a dinner party last spring when my sister brought her new partner over, and I'll never forget watching them cut into that golden cauliflower and the cheese just pooling out onto their plates. Everyone went quiet for a moment—that good kind of quiet—and then someone asked for seconds before they'd finished their first bite. That's when I knew this recipe had crossed from interesting to genuinely special.
Ingredients
- Large whole cauliflower (about 1 kg): Look for one that's creamy white or pale green with tightly packed florets and a sturdy base that won't tip over when you're roasting it.
- Cream cheese (150 g), softened: Let it sit on the counter for 20 minutes before mixing—it makes blending the filling silky smooth without lumps.
- Shredded mozzarella cheese (100 g): This is your stretchy backbone; it keeps the filling tender and gives it that luxurious melt.
- Grated Parmesan cheese (50 g): Never skip the Parmesan—those salty, umami-packed crystals are what make people wonder what's in there.
- Fresh chives (2 tbsp, chopped): Slice them just before mixing so they stay bright green and their oniony sharpness cuts through all that richness.
- Garlic clove, minced: Use fresh garlic, not powder; the flavor will be infinitely more alive and aromatic.
- Smoked paprika (½ tsp): This is your secret weapon for depth; it adds a whisper of smokiness that makes the cheese filling feel more complex.
- Ground nutmeg (¼ tsp): Just a pinch—too much and it tastes like dessert, but the right amount makes everything feel warm and sophisticated.
- Milk (1 tbsp): This loosens the filling just enough so it flows into the crevices without being runny or thick.
- Cheddar cheese for topping (50 g, shredded): Choose an aged cheddar if you can; it browns more beautifully and adds a sharper note to the crispy top.
- Breadcrumbs (2 tbsp): Use gluten-free if you're feeding anyone with sensitivities, but panko breadcrumbs will give you the crunchiest, most satisfying texture.
- Melted butter (1 tbsp): This binds the topping and makes it crisp up like a dream during roasting.
- Olive oil (1 tbsp): Use something you enjoy tasting—this isn't a time for the cheapest bottle in the cupboard.
- Salt and black pepper: Taste as you go; the filling already has salt from the cheeses, so go easy at first.
Tired of Takeout? 🥡
Get 10 meals you can make faster than delivery arrives. Seriously.
One email. No spam. Unsubscribe anytime.
Instructions
- Heat your oven and prep the pan:
- Turn the oven to 200°C (400°F) and line your baking tray with parchment paper—this prevents sticking and makes cleanup almost painless. You want everything ready before you start working with the cauliflower so there's no rushing.
- Trim the cauliflower carefully:
- Peel away the outer leaves until you're left with mostly florets, then gently carve the base flat enough that the whole head sits stable without wobbling. This is where patience matters; if you carve too aggressively, you'll split the core and lose structural integrity.
- Parboil until just tender:
- Drop the cauliflower into a pot of boiling salted water and let it bubble gently for 8–10 minutes until a knife slides through the thickest part with just a little resistance. You want it barely cooked at this stage because it'll finish roasting later.
- Make the creamy cheese filling:
- In a bowl, blend the softened cream cheese, mozzarella, Parmesan, chives, garlic, smoked paprika, nutmeg, and milk until everything is smooth and combined without any streaks of cream cheese remaining. Taste it—adjust seasoning if needed.
- Carve pockets for the filling:
- Once the cauliflower has cooled enough to handle, place it on your prepared tray and use a small, sharp knife to carefully cut deep into the base and between the florets, creating little pockets where the cheese will nestle. Be gentle so you don't shatter the florets.
- Stuff generously and evenly:
- Press the cheese mixture into all those crevices you've created, working it deep into the center and between every cluster of florets with a small spoon or your fingertips. The filling should be visible in every nook—this is what makes it stunning when you slice it.
- Oil and season the outside:
- Brush the whole cauliflower with olive oil and scatter salt and pepper over the top and sides, making sure everything gets an even coat.
- Top with the crispy finish:
- Toss the cheddar cheese and breadcrumbs together with melted butter until they're clumpy and golden-looking, then sprinkle this mixture all over the cauliflower's surface. This topping is your insurance policy for crispiness and color.
- Roast until golden and bubbling:
- Bake for 40–45 minutes, watching after the 35-minute mark so it browns beautifully without burning—the cheese should be bubbling slightly at the edges and the top should turn deep golden brown. You'll know it's done when a fork pierces the thickest part without much resistance.
- Rest and serve:
- Let it sit on the counter for 5 minutes after coming out of the oven; this firms everything up just enough so the slices hold their shape. Slice into wedges like you're cutting a cake, and watch people's faces when they see the creamy center.
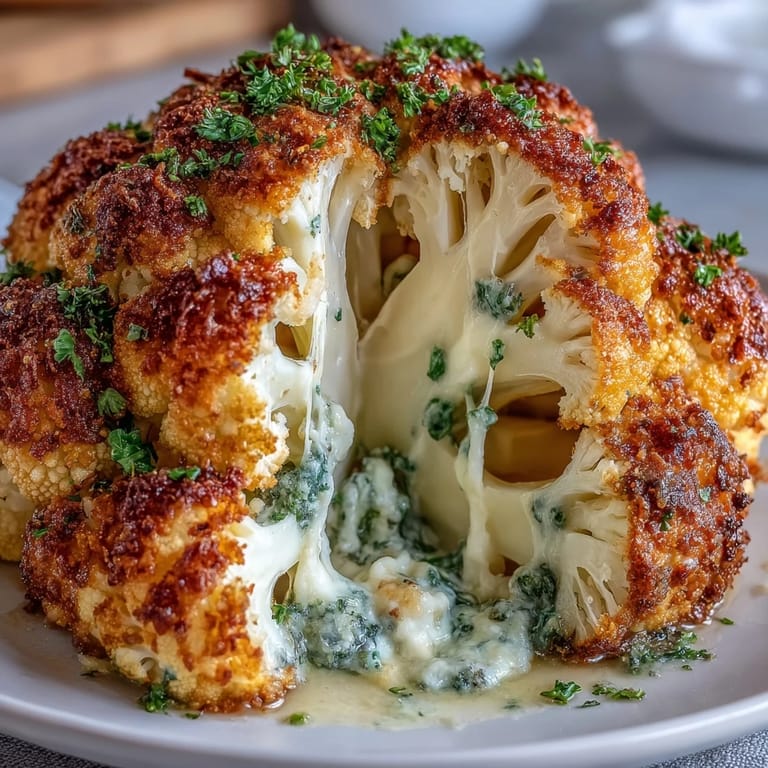 Save to Pinterest
 There's this magical moment when you pull this out of the oven and the smell hits you—nutty roasted cauliflower, melted cheese, toasty breadcrumb crust all mixing together into something that smells like comfort and celebration at the same time. That's when you know you've made something worth making again.
Customizing Your Filling
I've experimented endlessly with this filling, and the base cream cheese and mozzarella combo is honestly unbeatable, but the fun part is playing with additions. Sun-dried tomatoes chopped finely add brightness and a slight tang, while sautéed mushrooms bring earthiness and umami that makes the whole dish feel more substantial. Crispy bacon bits work too if you're not strict about vegetarian, and I've even tried adding a spoonful of pesto to one version that turned out remarkably good. The formula stays the same—you're just swapping or adding to the flavor profile while keeping the ratio of cream cheese to mozzarella so everything stays creamy and holds together.
Serving Ideas That Actually Work
On its own, this cauliflower is enough for dinner, but it truly shines alongside something fresh and sharp that cuts through the richness. A crisp green salad with lemon vinaigrette is my go-to, or roasted asparagus, or even a simple arugula salad with shaved Parmesan and a squeeze of lemon. I've also served it with roasted potatoes for people who need more substance on their plate, and suddenly you have something that feels like a full restaurant meal. The key is making sure whatever you pair it with has acid or brightness to balance the creamy, cheesy centerpiece.
Why This Trick Actually Works
Whole roasted vegetables used to feel like a restaurant gimmick to me—impressive but fussy, the kind of thing I'd admire but never attempt. What I've learned is that the key is understanding cauliflower's actual structure: it's sturdy enough to hold filling, it roasts into something tender and sweet, and it looks magnificent without requiring any fancy plating skills. Once you nail this technique, you'll start seeing other vegetables differently—you'll wonder what else you could stuff and roast and serve as a showstopper. That shift in thinking is worth the one learning curve.
- If you're worried about the cauliflower falling apart, remember that parboiling firms up the exterior while keeping the interior tender enough to roast through.
- The filling will ooze slightly as it roasts—that's not a mistake, that's exactly what you want because it creates those gorgeous pockets of cheese throughout.
- Slice with a sharp knife and a gentle sawing motion rather than pressing down hard, and everything will stay intact and presentable on the plate.
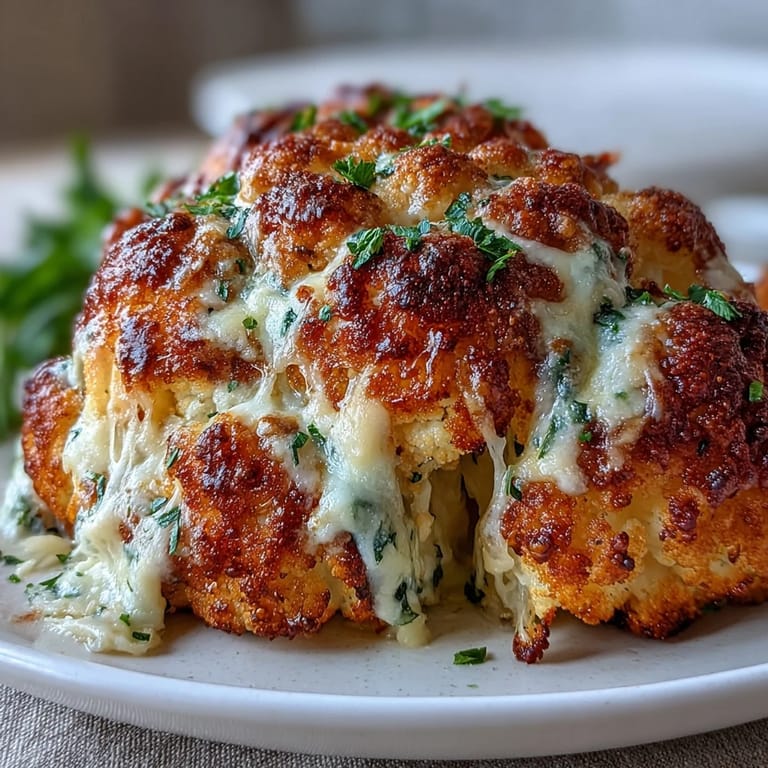 Save to Pinterest
 This dish proved to me that vegetarian cooking doesn't mean sacrificing drama or flavor—it just means thinking differently about what makes food feel special. Now I make this whenever I want to remind myself that the best meals are often the ones that feel a little bit like celebration.
Recipe FAQs
- → How do I know when the cauliflower is done cooking?
The cauliflower is ready when it's golden brown on top, the cheese is bubbling, and a knife inserted into the center meets no resistance. The florets should be completely tender but still hold their shape.
- → Can I prepare this dish ahead of time?
Yes, you can blanch the cauliflower and prepare the cheese filling up to a day in advance. Store them separately in the refrigerator, then assemble and bake when ready to serve.
- → What other cheeses work well in the filling?
Gruyère, Swiss, or aged cheddar add excellent depth. For a sharper flavor, try adding some goat cheese or blue cheese in smaller amounts to the cream cheese base.
- → Do I have to blanch the cauliflower first?
Blanching ensures even cooking and tenderness. Without this step, the exterior may overcook before the center becomes tender. The 8–10 minute boil is essential for perfect texture.
- → Can I make this vegan?
Substitute the cream cheese with vegan cream cheese alternative, use vegan shredded cheese blends, and replace butter with olive oil or vegan butter. Nutritional yeast adds extra cheesy flavor.
- → What should I serve with stuffed cauliflower?
A crisp green salad with vinaigrette balances the richness. Roasted vegetables, crusty bread, or a light grain salad like quinoa also complement the dish beautifully.