 Save to Pinterest
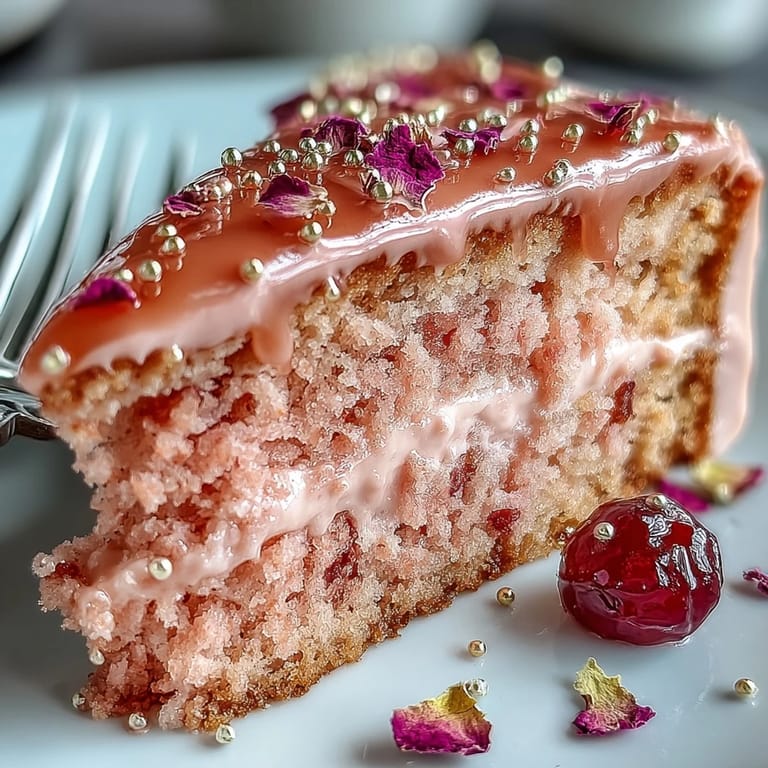
 When the weather just starts hinting at spring and my kitchen smells faintly of vanilla and fresh flowers, it always reminds me of the first time I experimented with rosé velvet cake. The scent of rosé wine mingling with cocoa and butter was something I never expected to love— but it instantly felt celebratory. There was a soft hum in the background from my playlist, and somehow that made beating buttercream feel less like a chore and more like the art of anticipation. The gentle blush hue—even before I began layering—made me smile. It was a perfect excuse to bring out my fanciest cake stand, knowing something extra special was in the making.
Last year, my friends and I gathered for a bridal shower on a breezy Sunday afternoon, and this cake turned from a fun experiment into a memory we'll always talk about. We took turns admiring the gilded drips as I finished painting them, everyone offering their take on what edible gold must taste like. Someone piped in with a toast—using the leftover rosé—which made us all laugh so hard I nearly dropped my offset spatula. It was one of those easy, lighthearted days that make you wish showers happened more often, just for the sake of the cake alone.
Ingredients
- All-purpose flour: My biggest lesson here was to always sift it—the extra effort gives the cake its signature soft, even crumb.
- Granulated sugar: I use superfine sugar when possible because it dissolves beautifully, avoiding any unwanted graininess.
- Baking soda: A little goes a long way to create lift, but make sure it’s fresh or your layers may fall flat.
- Fine salt: Just enough to balance the sweetness and bring out the subtle cocoa notes.
- Cocoa powder: Unsweetened is key for just a hint of chocolate without overpowering the rosé.
- Vegetable oil: This keeps the cake impossibly moist—no dry bites here, even the next day.
- Eggs, room temperature: If I forget to set them out, I pop them in warm water for a few minutes to save time.
- Buttermilk, room temperature: It reacts with the vinegar and baking soda for fluffy, tender layers every single time.
- Rosé wine: Use something you’d actually drink—the flavor gently perfumes the cake.
- Vanilla extract: I always lean toward pure vanilla here—it makes the whole kitchen smell amazing.
- White vinegar: Don’t worry, you won’t taste it, but it helps the cake rise and gives complexity.
- Pink or rose gel food coloring: Gel gives that stunning, vivid blush without thinning the batter.
- Unsalted butter, room temperature: For buttercream that’s creamy without being greasy, patience is your friend.
- Powdered sugar, sifted: Sifting means extra silky frosting—learned that the hard way after a lumpy batch.
- Heavy cream: Helps the gold drip set just right—not too runny and not too thick.
- Edible gold luster dust and vodka or clear lemon extract: Only ever use food-grade—sparkly, safe, and totally breathtaking.
Tired of Takeout? 🥡
Get 10 meals you can make faster than delivery arrives. Seriously.
One email. No spam. Unsubscribe anytime.
Instructions
- Prep your pans:
- Grease and line three 8-inch pans with parchment, making sure every inch is covered so nothing sticks.
- Mix the cake dry ingredients:
- In a big bowl, sift together the flour, sugar, baking soda, salt, and cocoa—the air fills with a chocolaty cloud that makes me smile.
- Combine the wet ingredients:
- Whisk oil, eggs, buttermilk, rosé, vanilla, and vinegar until the mix is creamy and the rosé scent floats up.
- Bring it all together:
- Add the wet mixture to the dry, gently stirring (do not over-mix) until only a few flour streaks remain, then fold in the food coloring until it’s the perfect shade of blush.
- Bake the cakes:
- Pour the batter evenly into the pans; bake for 30-35 minutes, checking near the end with a toothpick for doneness.
- Cool completely:
- Let cakes cool in their pans for 10 minutes—don’t rush this—then transfer to a rack so they don’t steam themselves soggy.
- Make the buttercream:
- Beat butter on high until pale and fluffy, then add powdered sugar a cup at a time, pouring in rosé and vanilla once it’s thick; beat until it’s cloudlike.
- Build the cake:
- Level the cakes if needed; sandwich and coat them with buttercream, smoothing a thin crumb coat before chilling, then repeat with a generous final layer—there’s something meditative about this part.
- Prepare the gold drip:
- Gently melt white chocolate and cream together, then let it cool; mix gold luster dust with vodka to make edible paint.
- Decorate with gold:
- Drizzle the cooled chocolate drip along the cake’s edge, let it set a bit, then use a clean brush to paint on that gold shimmer—don’t worry about perfection, the hand-painted look is pure glamour.
- Add finishing touches:
- Scatter on edible gold, rose petals, or berries—trust your eye and have fun with it.
 Save to Pinterest
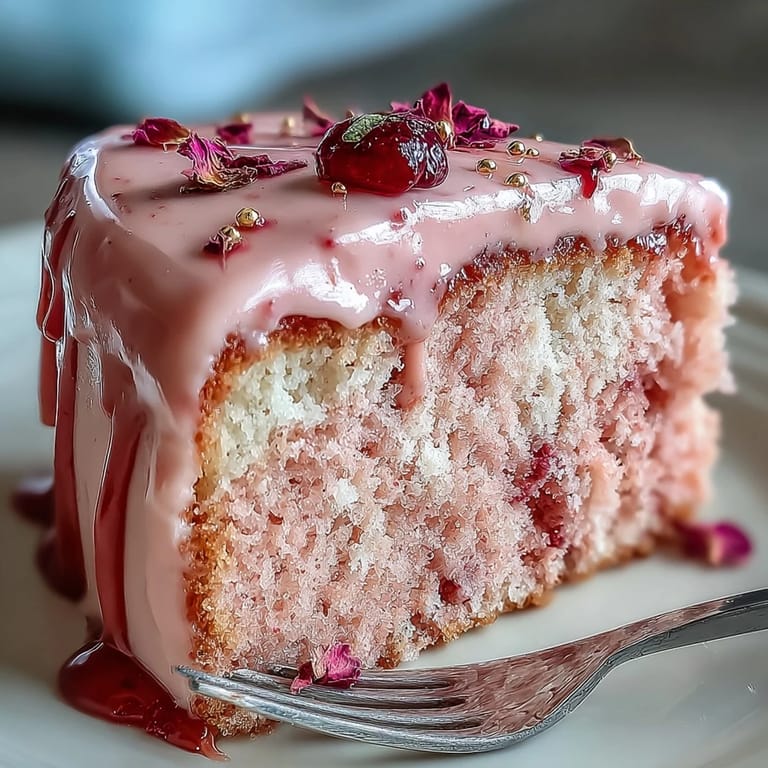
 The moment that stands out to me is handing slices around as everyone gathered in the kitchen, gold sparkle catching the light with each turn. Suddenly, it was less about the cake and more about the laughter and pink-tinged smiles—it truly became a centerpiece for the day’s joy.
Choosing Your Rosé (And Why It Matters)
I once grabbed a bottle just because it was pretty and regretted it—choose a dry or semi-sparkling rosé for a floral note that doesn’t overpower. The right rosé will complement the cocoa and keep things balanced, not cloying—taste a spoonful of batter before baking if you’re curious how the wine shines through.
Mastering the Gold Drip: Secrets for Shimmer
Making the gold drip was intimidating until I realized that temperature is everything: too warm and it runs straight off, too cool and you’ll have globs that won’t drip. If the luster paint feels thin, dab it on in layers—there’s no shame in playing artist for a little extra sparkle.
Bridal Shower Showstopper Moments
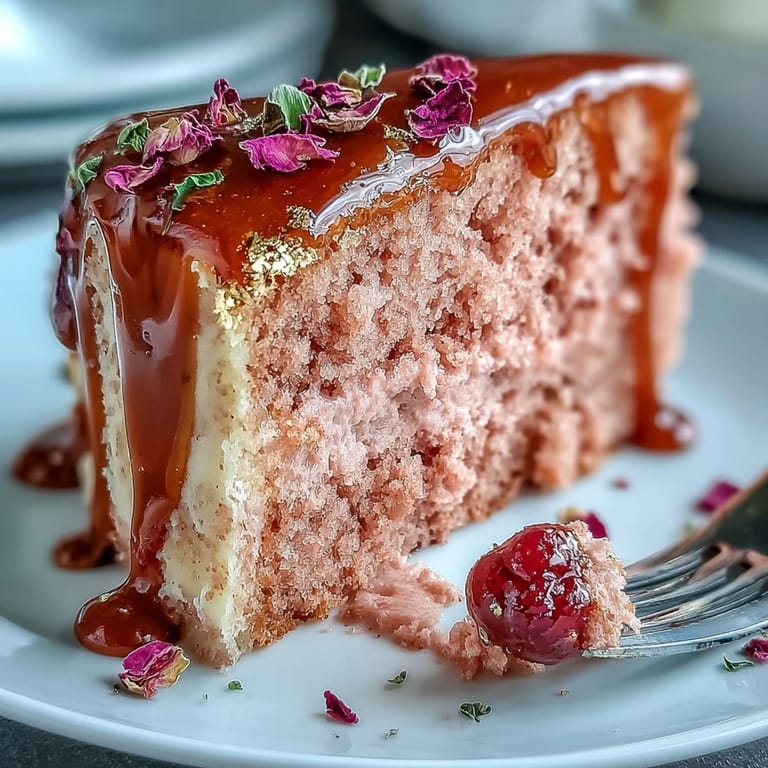
The first time I set this cake down at the table, conversation paused—which tells you everything about its wow factor. The gold drips shimmer under even the lowest light, and the subtle pink crumb manages to look both whimsical and sophisticated. Each slice makes for a perfect photo op and a not-so-secret indulgence that feels like the very best toast to the guest of honor.
- Plan ahead and give yourself plenty of cooling time.
- Save a little rosé for toasting—never hurts to coordinate drinks with dessert.
- Use only edible luster dust for the gold; it’s worth the splurge for both taste and safety.
 Save to Pinterest
 When you serve this cake, don’t be surprised if everyone asks for the recipe—soak up the compliments and remember that a touch of gold always makes things a little more magical.
Recipe FAQs
- → What type of rosé works best?
Choose a dry or lightly sparkling rosé for subtle floral and fruit notes; avoid overly sweet bottles to keep balance in the batter and buttercream.
- → How do I keep the layers from collapsing?
Ensure eggs and buttermilk are room temperature, mix just until combined, and don’t overfill the pans. Cool layers fully before leveling and stacking to maintain structure.
- → How can I get a consistent pink color?
Use gel food coloring for concentrated color without thinning the batter. Add a little at a time until you reach the desired rosy shade.
- → Is the gold drip safe to eat?
Use only edible luster dust and food-safe alcohol or clear extract to make paint. Apply sparingly and ensure all metallic finishes are labeled food-safe.
- → How do I prevent a runny buttercream when filling?
Beat butter until light and creamy, add powdered sugar gradually, and adjust consistency with chilled rosé or sugar. Chill assembled layers after a thin crumb coat to set the filling.
- → What’s the best way to store and serve the cake?
Refrigerate if assembling ahead, then bring to room temperature before serving for optimal texture. Store covered to prevent drying and keep gold accents intact.